
The request started simply enough. “I’m interested in having some steel wall art custom made for my wife as a Christmas gift”. So, we read on. And, we discovered the finished product Chris hoped to create. A shadow box DIY project using metal art.
Chris looked at the dog potraits in our gallery, which are mostly silhouette types of images. “I’d like to use a picture of the face of our dog to be the subject of the piece. In your gallery, most of the pieces that pertain to dogs have the excess steel removed such that the steel that’s left shows the image. I was thinking to do the opposite. Cut away the steel to show the dog’s face, so the steel that ISN’T there is what defines the image as opposed to the other way around.”
Metal Art and Shadow Box DIY – The Process
Forty emails later, our client and his wife are very happy. And, Chris explained his side of the project. This makes for the perfect blog post! Forty emails may seem like a lot, but it’s really not the case. Each email got us closer to giving Chris what he needed. And, we had a better idea of how he created his Christmas gift.
The Dog
-
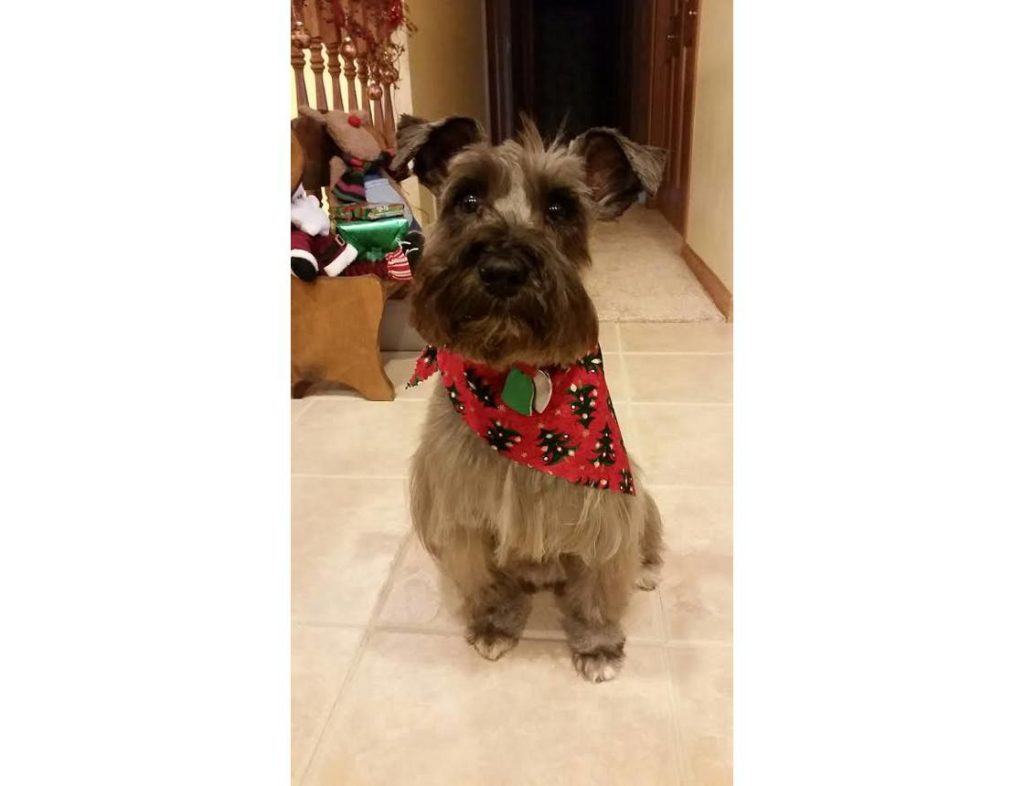
- Our starting point.
-
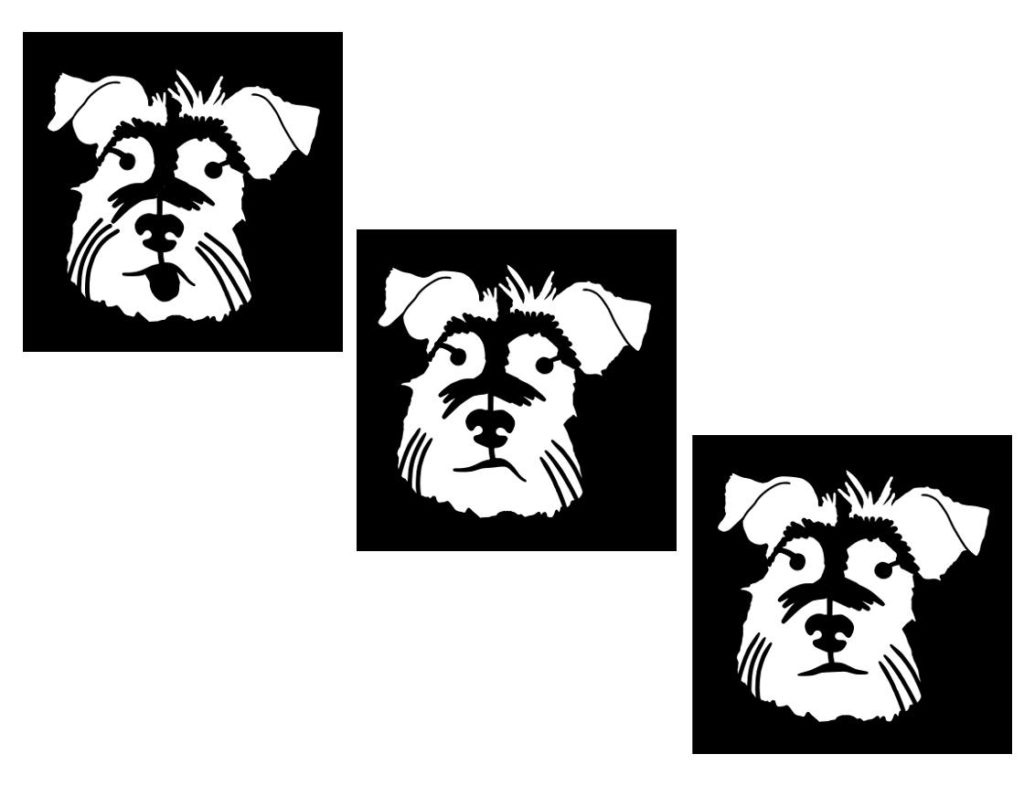
- Three versions of schnauzers.
-
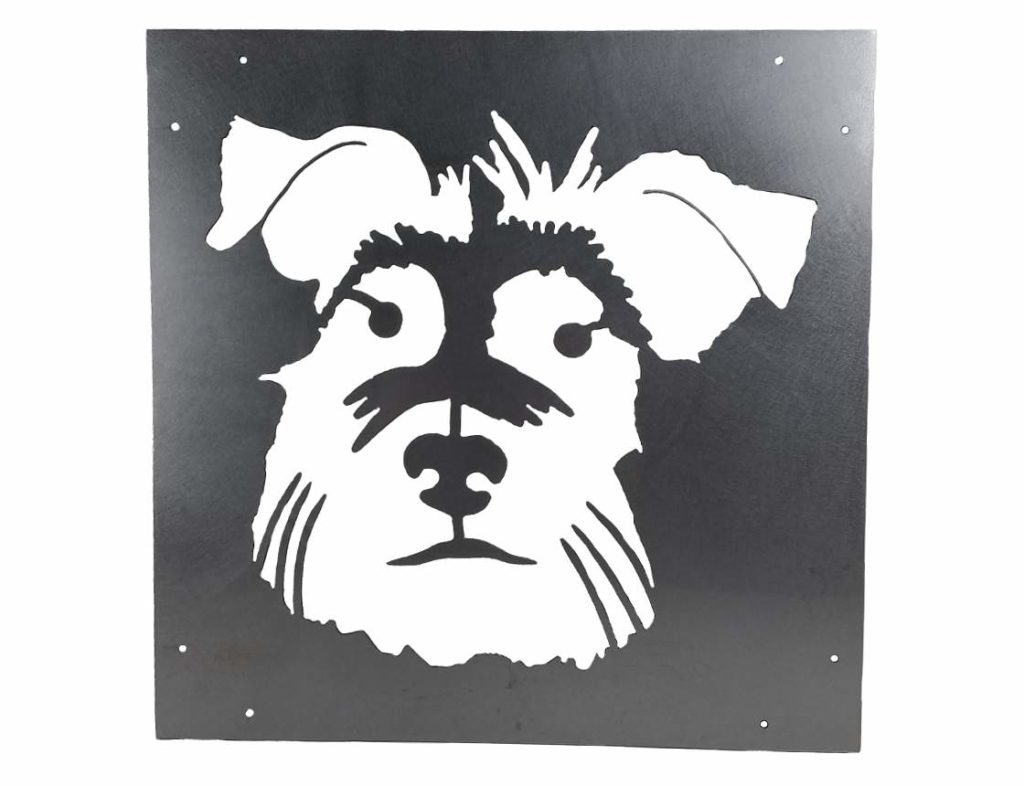
- The finished portrait with drilled holes.
The first step included a few iterations to complete the finished portrait. Two or three versions aren’t included here. More steel (black in the prototypes) was added to flesh out the dog’s character. Once Chris was happy with the prototype, he sent detailed instructions for where he wanted the holes drilled. The shadow box DIY project was evolving as we were working on our part.
We shipped the Schnauzer art in plenty of time. Chris contacted us the first of November. And, we really appreciated his excellent planning (rather than last minute).
Chris’ response when he received the package – “It just showed up at the house. WOW! That really turned out awesome! I’m really excited about it, I think she’s going to love it. It’s bigger than I had pictured in my head, but I also think the 12 x 12 would have been too small”.
The Construction
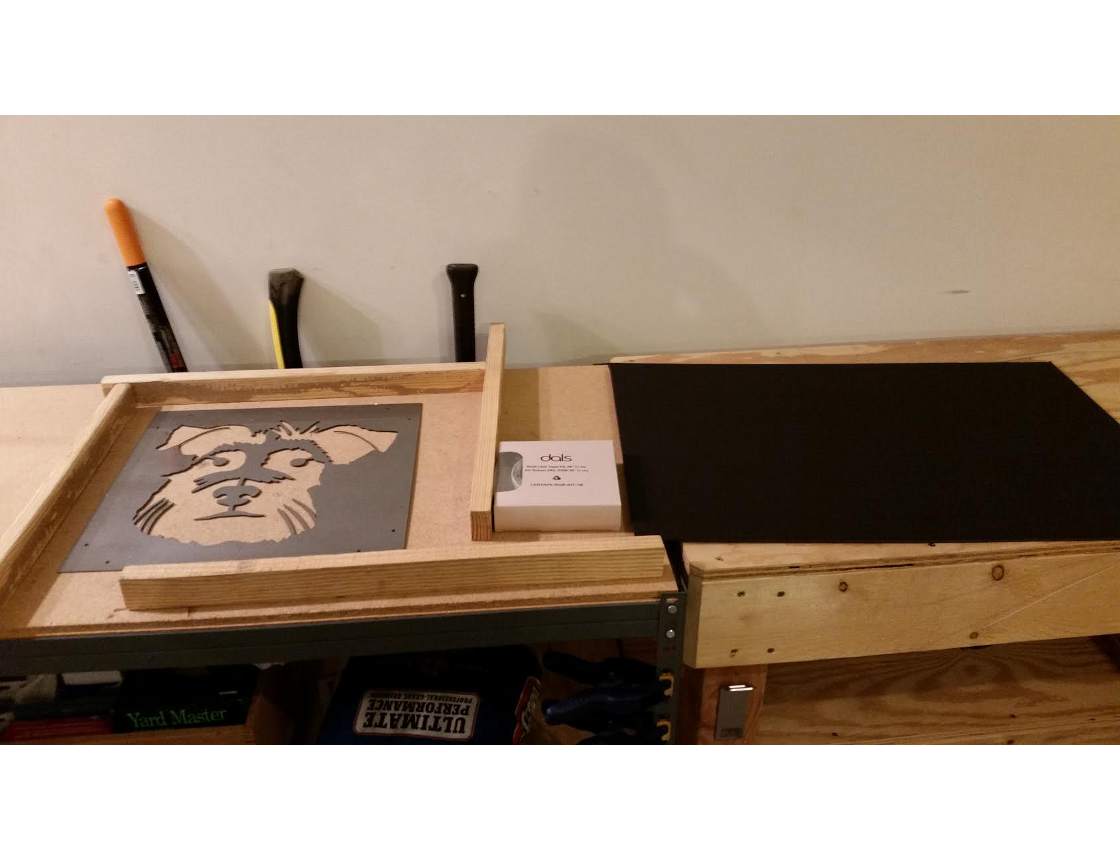
Chris kindly sent photos of the process he used along with detailed construction steps.
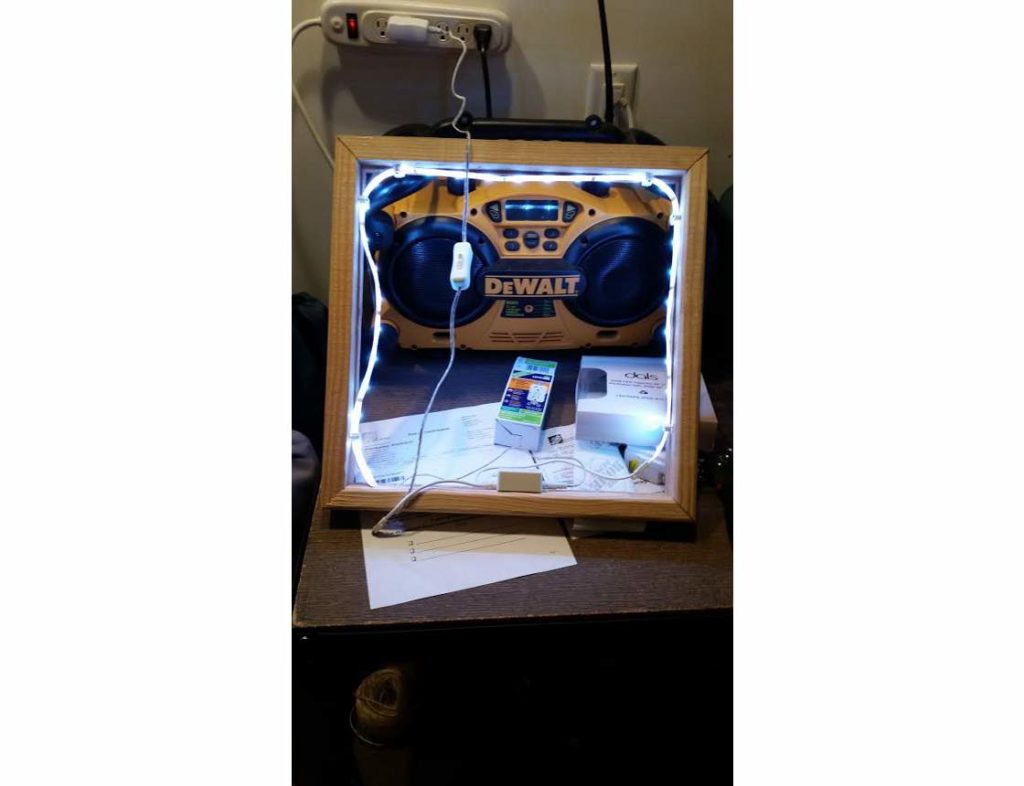
“The first picture is the materials. The steel, the lumber I used, some black foam board from a craft store for the back, and about 40″ of self-adhesive flexible tape led lights. Not pictured are a bunch of fasteners.”
“Next picture is the frame completed – mitered joints, the led lights in & working. The led lights come with a remote & can do different colors & patterns, which I think will be a cool effect. Including a picture with the led lights set to red.”

“And then a couple pictures of the final product. I think it turned out great. Only regret is where I put the little transformer for the led lights inside the frame, you can kinda see that. Maybe I can find a way to hide that.”

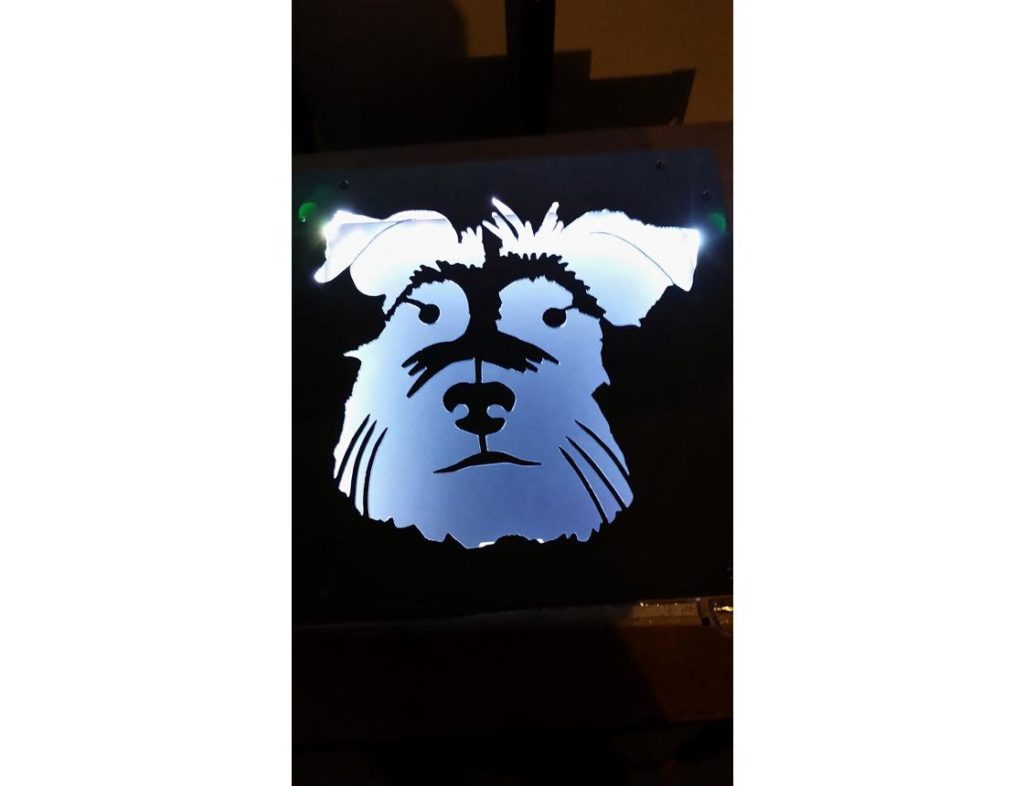
“Anyway, project is a huge success in my opinion. I’m excited to see my wife’s reaction. Thanks for all the help! Let me know your thoughts on it.”
We think this project was a huge success as well! We love to collaborate with our customers and see how the finished product turns out. It’s an area we want to work on more during the upcoming year. Using metal art within other projects opens up whole new areas of creativity.
How Was the Gift Received?
After the holidays, Chris emailed us. “she loved it! She’s been showing it to her family & friends – definitely a hit!”
More Creative Projects in 2017
As mentioned above, we plan to start branching out in 2017. We’ve worked with a local clock maker on incorporating metal art in her clocks. Charlie recently created a unique retirement gift for a fellow officer using a shadow box and our custom metal police badge. The sky is the limit!